
|
Insurance Verification Integration
Insurance verification integration is sold separately. Contact your TSD Sales Representative at sales@tsdweb.com for more information.
ATMS GEN2.0 offers Insurance Verification integration with Axle or Canopy Connect to automate your process of capturing and/or verifying a customer's automobile insurance policy on expedited appointments and agreements.
Setup Requirements
- Contact TSD to get started. Initial configuration of the integration with Axle or Canopy must be completed by TSD Support. Contact your TSD Sales Representative at sales@tsdweb.com for more information.
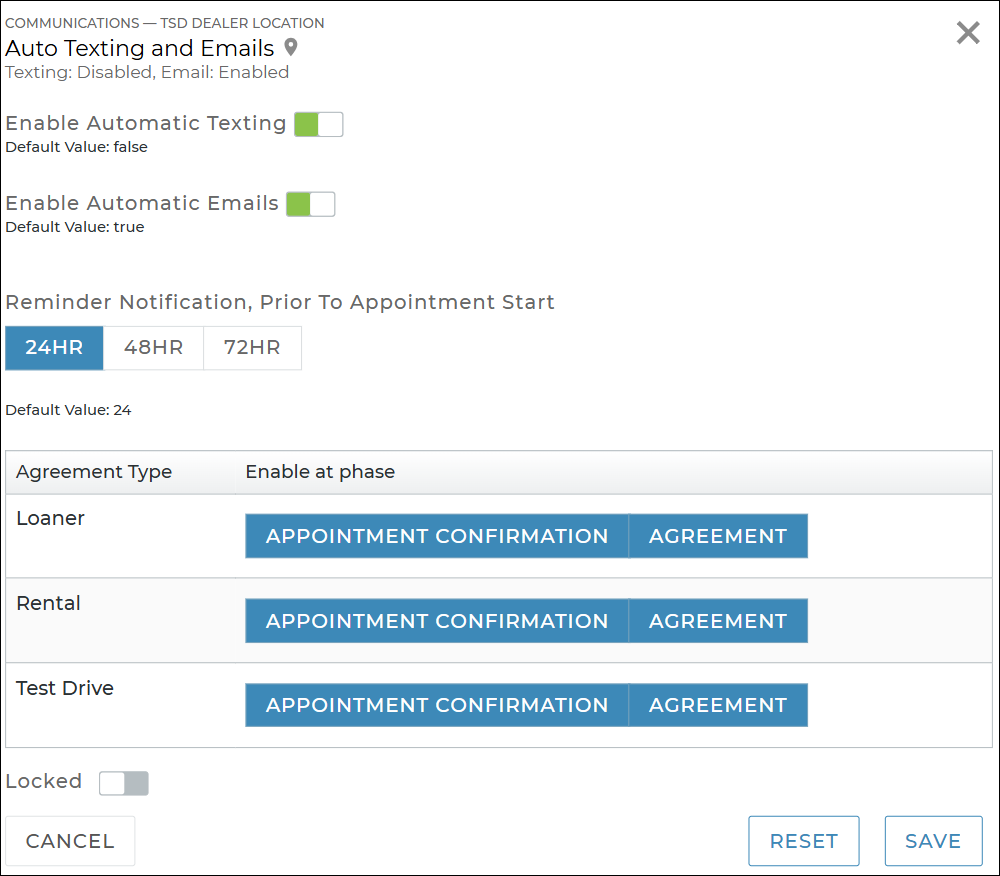
- Turn on automatic texting and/or emailing. Use the Auto Texting and Emails setting to allow texts and/or emails to be sent to your customer for appointment confirmations. (This is a requirement for Expedited Appointments.)
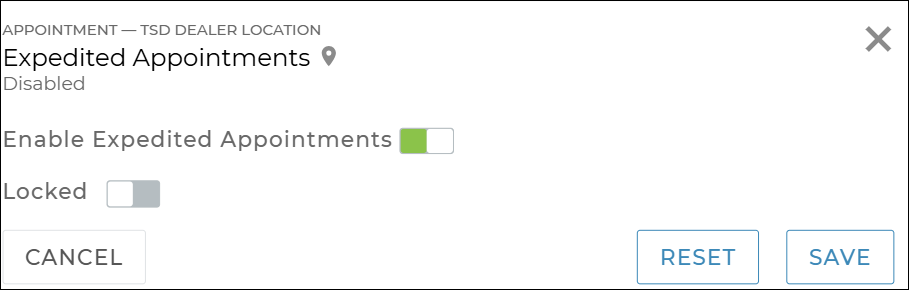
- Turn on Expedited Appointments. Use the Expedited Appointments setting to turn on this feature for your location, which includes a link to the appointment in your automated appointment confirmation texts and emails.
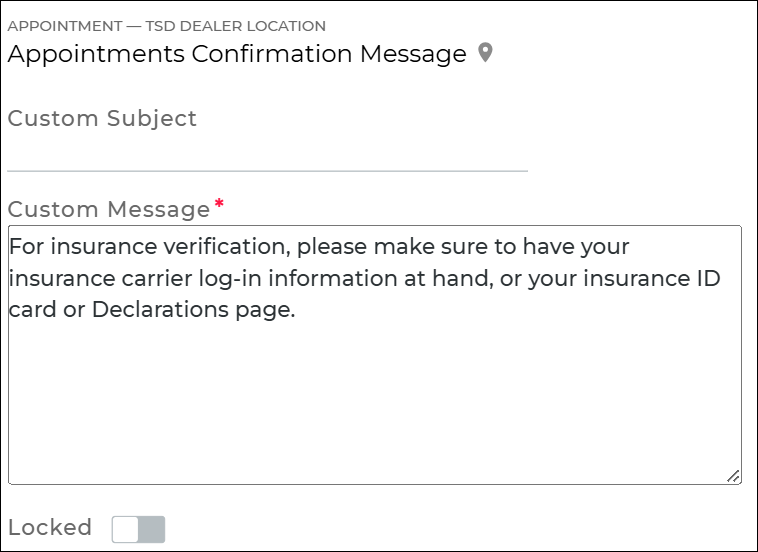
- (Optional.) Customize your appointment confirmation email or text message. You can use the Appointments Confirmation Message setting to change the default email subject and add additional text to the body of the email or text (for example, a reminder that providing insurance will make for a faster experience).
- (Optional.) Make insurance verification required on agreements (and make exceptions for employees). You can use the appropriate setting, Require Axle Insurance Verification or Require Canopy Insurance Verification, to make insurance verification required to open new agreements.
Hover to view the full-sized image.
Hover to view the full-sized image.
Hover to view the full-sized image.
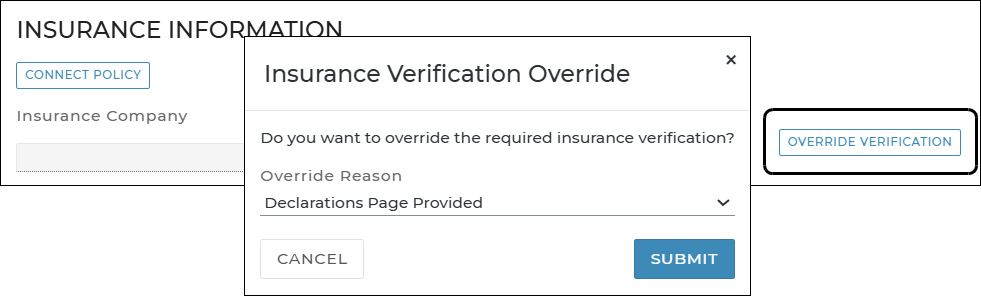
Then, if you want certain employee roles to be able to override this verification requirement, grant the Allow Override Insurance Verification permission. This will make an button available on the agreement.
Connect an Insurance Policy
Explore the insurance verification process from your customer's perspective.
How are you using this feature? WebMobile
How to have a customer connect a policy (on Web)
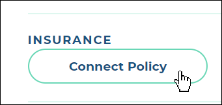
- If connecting a policy on an Expedited Appointment, the customer accesses the appointment from the email or text and clicks Connect Policy to launch the provider's insurance dialog. Note that, on the appointment itself, the individual insurance fields are not displayed; these will only be made available if the customer exits the connect policy process or encounters an error.
- If connecting a policy on a new walkup agreement, you can click , then choose to have the customer scan a QR Code on your screen to access the Insurance dialog, or text the QR code to the customer. Click .
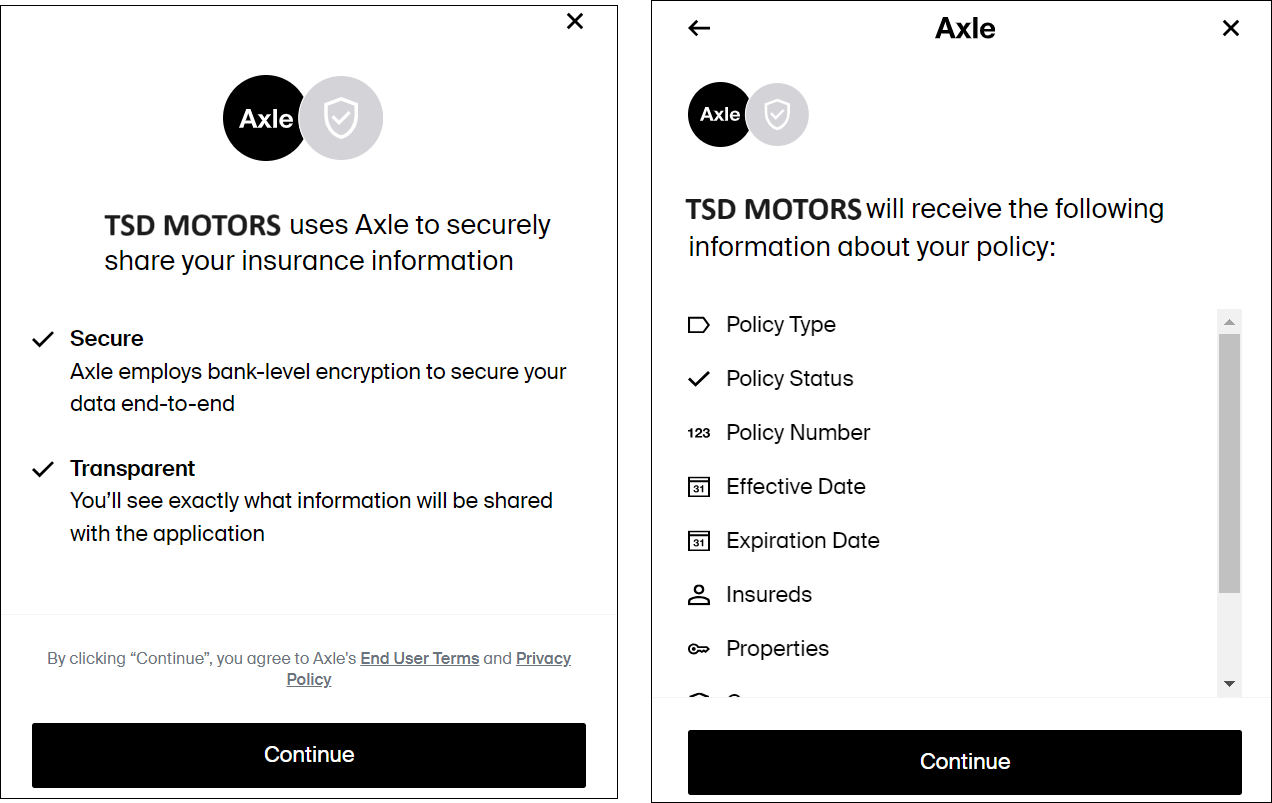
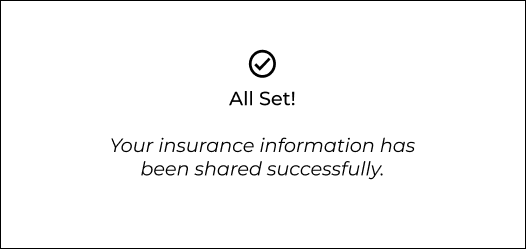
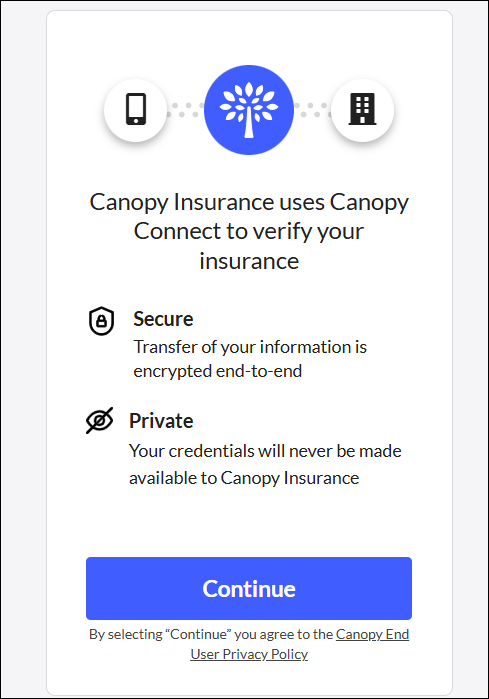
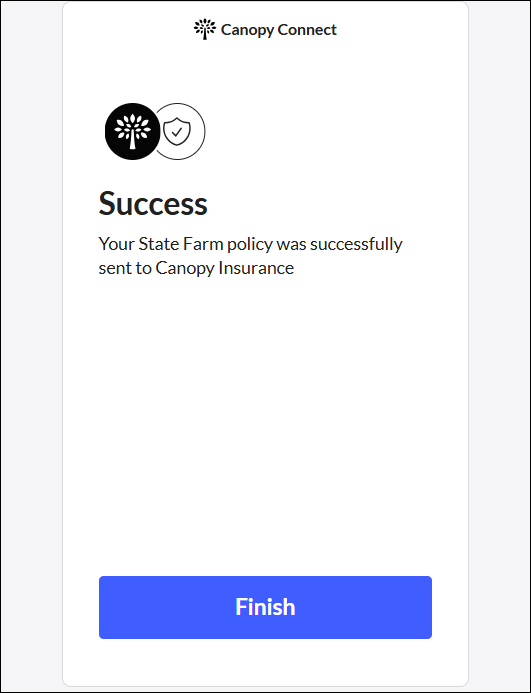
- The Insurance dialog guides the customer through connecting a policy. The look-and-feel and content of the dialog itself varies based on the provider.
- After an insurance policy is connected on the appointment or agreement:
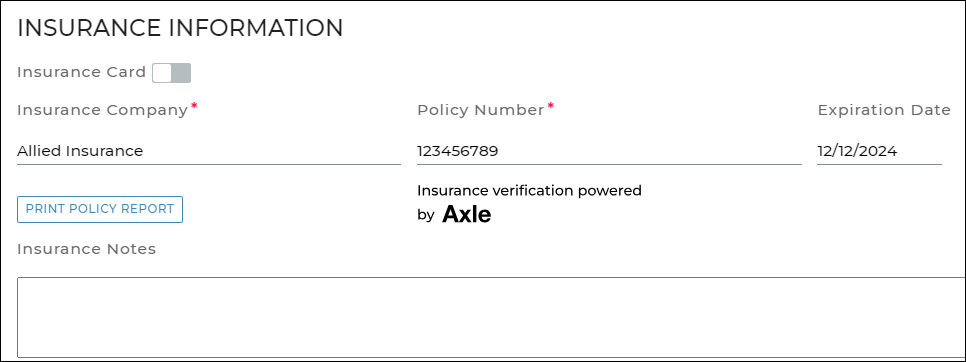
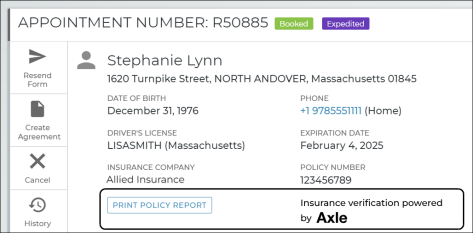
- Insurance policy information (Insurance Company, Policy Number, Expiration Date, and customer VIN of the insured customer automobile) is updated on the appointment, agreement, and customer record. With Canopy, the customer VIN, Make, Year, and Model are all updated. Additionally, the provider's insurance verification badge is displayed, as applicable: "Insurance verification powered by Axle" or "Insurance Verification powered by Canopy".
- (Axle) If the customer uploaded an insurance card or document instead of logging into the insurance carrier account, the image is displayed, along with the following message: This information is maintained through the appointment, agreement, including at close, and added to the customer record.
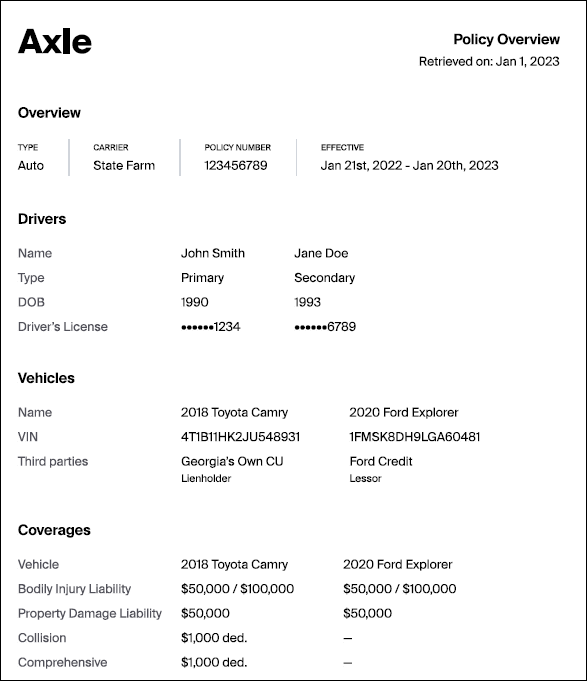
- (Axle) A button ( on mobile) is available on the appointment and agreement to download a Policy PDF containing coverage information, including deductible limits, vehicles on the policy, and names of insured drivers. See "View an Insurance Policy Report (Axle) " for more information.

Hover to view the full-sized image.
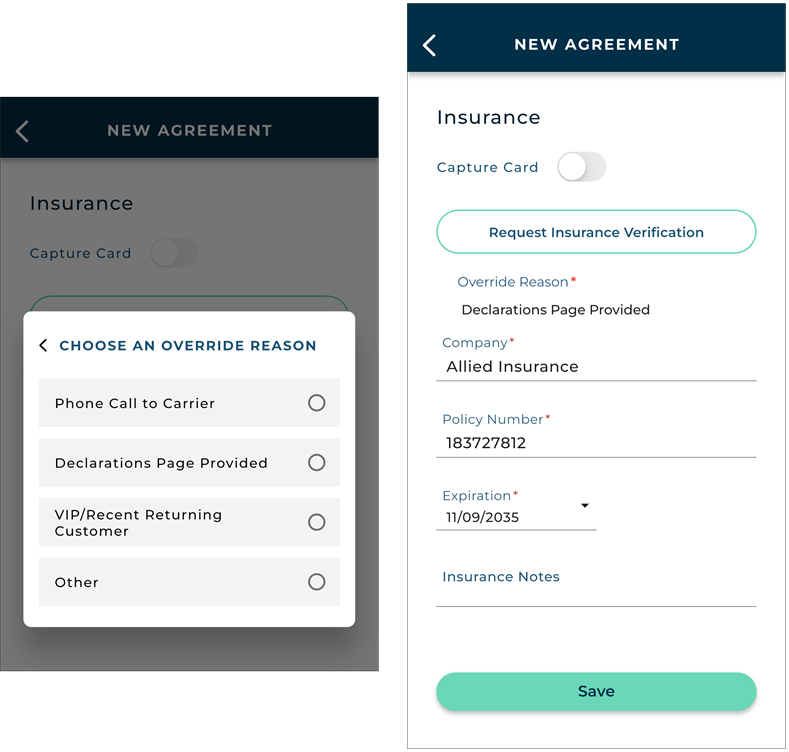
Note:If insurance verification is required on your agreements (via the Require Axle Insurance Verification or Require Canopy Insurance Verification setting), employees with the Allow Override Insurance Verification permission can bypass this requirement via an Override Verification option.![]() Read more:
Read more:
Note: If connecting a policy from an expedited appointment (Canopy only) or from an agreement, is displayed, to let you know the customer is in the process of connecting a policy.

Web view: hover to view the full-sized image.
This verification status is applicable for the life of the appointment and agreement, but it is removed if you manually edit this information and is reset on new appointments or agreements opened for the customer.

Hover to view the full-sized image.
- If connecting a policy on an Expedited Appointment, the customer accesses the appointment from the email or text and clicks Connect Policy to launch the provider's insurance dialog. Note that, on the appointment itself, the individual insurance fields are not displayed; these will only be made available if the customer exits the connect policy process or encounters an error.
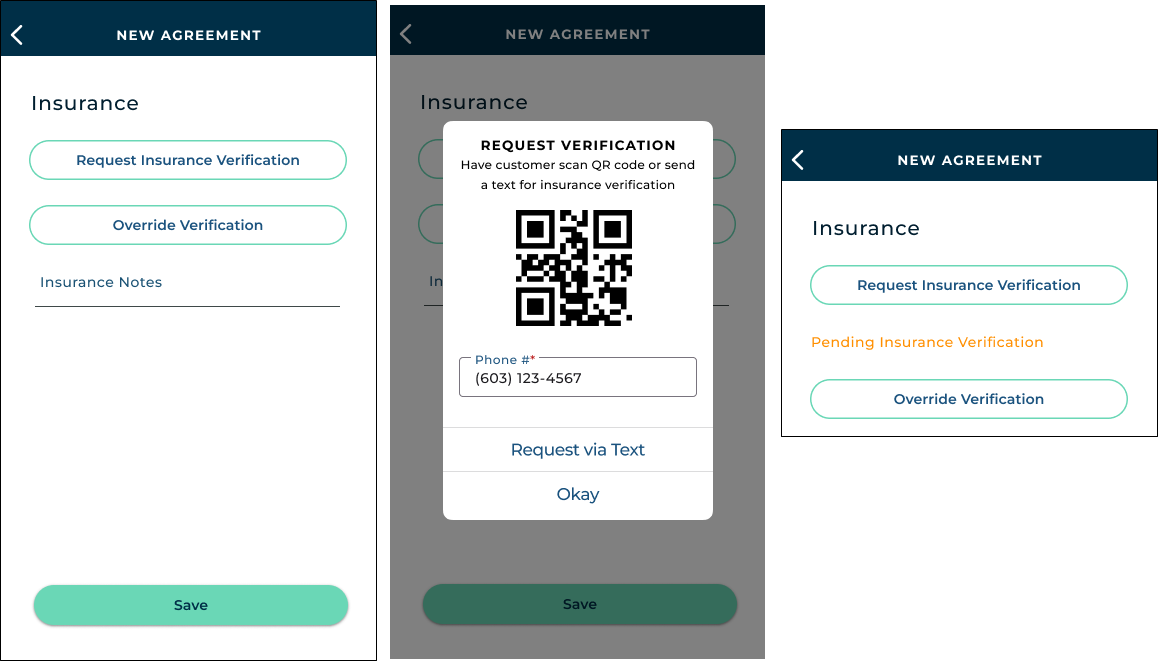
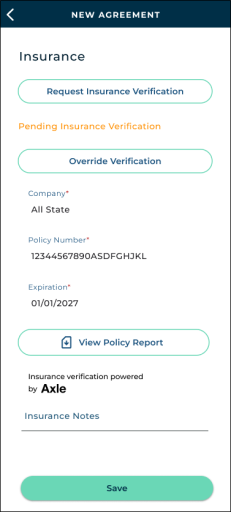
- If connecting a policy on a new walkup agreement, you can request insurance verification on the Customer stepper of the agreement, within the Insurance section. Tap ., then choose choose to have the customer scan a QR Code on your screen to access the Insurance dialog, or text the QR code to the customer.
- The Insurance dialog guides the customer through connecting a policy. The look-and-feel and content of the dialog itself varies based on the provider.
- After an insurance policy is connected:
- The information (Insurance Company, Policy Number, Expiration Date, and customer VIN of the insured customer automobile) is filled in and the provider's insurance verification badge is displayed, as applicable: "Insurance verification powered by Axle" or "Insurance Verification powered by Canopy". This information is maintained through the appointment, agreement, including at close, and added to the customer record.
- (Axle) If the customer uploaded an insurance card or document instead of logging into the insurance carrier account, the image is displayed, along with the following message: This information is maintained through the appointment, agreement, including at close, and added to the customer record.
- (Axle) A button is available on the appointment and agreement to download a Policy PDF containing coverage information, including deductible limits, vehicles on the policy, and names of insured drivers. See "View an Insurance Policy Report (Axle) " for more information.
Note: If insurance verification is required on your agreements (via the Require Axle Insurance Verification or Require Canopy Insurance Verification setting), employees with the Allow Override Insurance Verification permission can bypass this requirement via an Override Verification option.![]() Read more:
Read more:
Note: While the customer goes through the provider's insurance verification process, is displayed.
Hover to view the full-sized image.
This verification status is applicable for the life of the appointment and agreement, but it is removed if you manually edit this information and is reset on new appointments or agreements opened for the customer.
View an Insurance Policy Report (Axle)
Note: This is only applicable when using Axle as the provider.
If a customer's insurance policy is connected through Axle, you can download a Policy PDF containing coverage information, including deductible limits, vehicles on the policy, and names of insured drivers.
Policy Report Sample
Hover to view the full-sized image.
How are you using this feature? WebMobile
On the customer record, appointment, or agreement, click .
On the Insurance section of the agreement, tap .
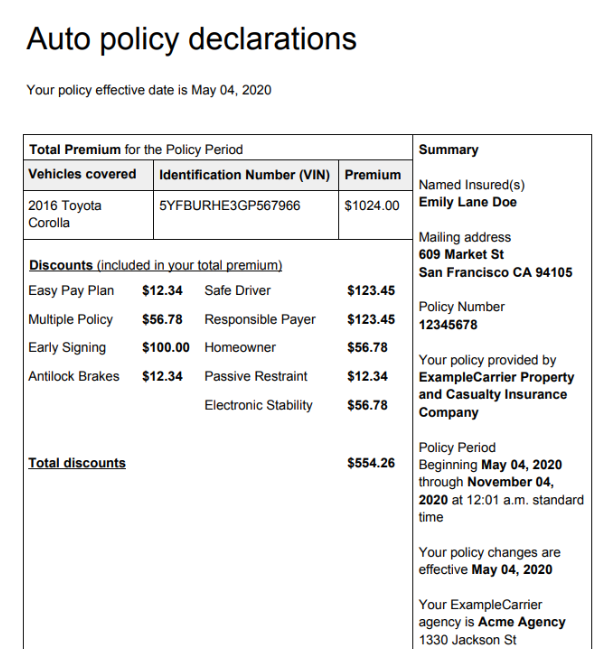
View an Insurance Declaration Page (Canopy Connect)
Note: This is only applicable when using Canopy Connect as the provider.
If a customer's insurance policy is verified on an expedited appointment or agreement through Canopy, you can download a Declarations Page PDF containing verified coverage information.
On the customer record, appointment, or agreement, click .

Declarations Page Sample
Hover to view the full-sized image.
Reporting Options
- Track insurance verification stats on the Length of Use and Service Advisor reports. Stay on top of how often employees are capturing verified insurance policies on agreements, as well as the reasons selected for overriding insurance verification requirements at your location, if applicable.
Frequently Asked Questions (FAQs)
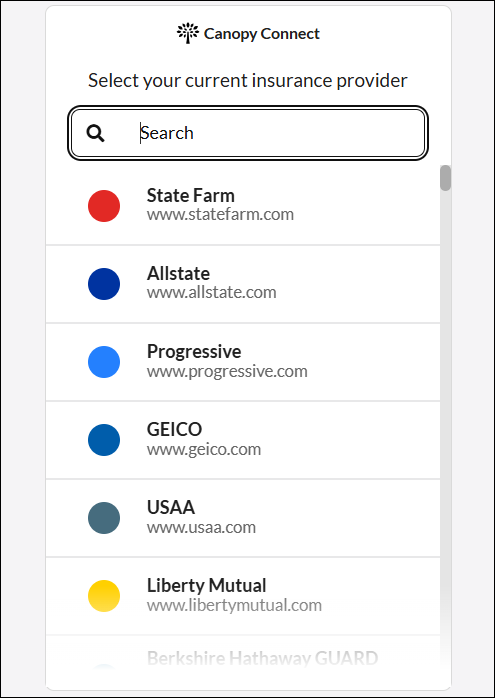
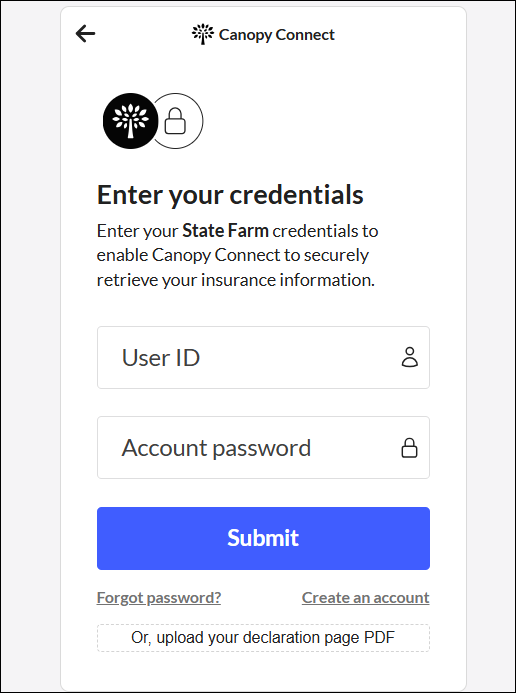
On the log-in screen of the insurance dialog, options are available to:
- reset the password.
- set up a new account with the carrier.
- manually upload an insurance document (insurance ID card or Declarations page). (Note that manually uploading a document is not considered validated by the carrier, so it will not be considered Verified by the provider. So, your location should still take the proper measures to make sure the customer is covered to drive the vehicle.)
If the customer uploaded an insurance card or document through the provider's Insurance Verification process, instead of logging into the insurance carrier account, the following is displayed on the customer record, appointment, and agreement:
In this case, the data from the uploaded policy will still be updated, but the insurance will not be considered Verified by the provider. So, your location should still take the proper measures to make sure the customer is covered to drive the vehicle.
With Axle, in this situation, the dialog displays the following message: "Are you sure? Insurance verification is required. Declining verification through Axle may result delays." Your customer can choose Finish to return to the previous dialog, or Exit to close Axle, where a Skip Survey link is displayed with a message that the location will reach out to complete verification.
If the customer was in the process of verifying insurance from an expedited appointment, he or she is returned to the appointment. The customer can enter information into the insurance fields manually, or try connecting a policy again.
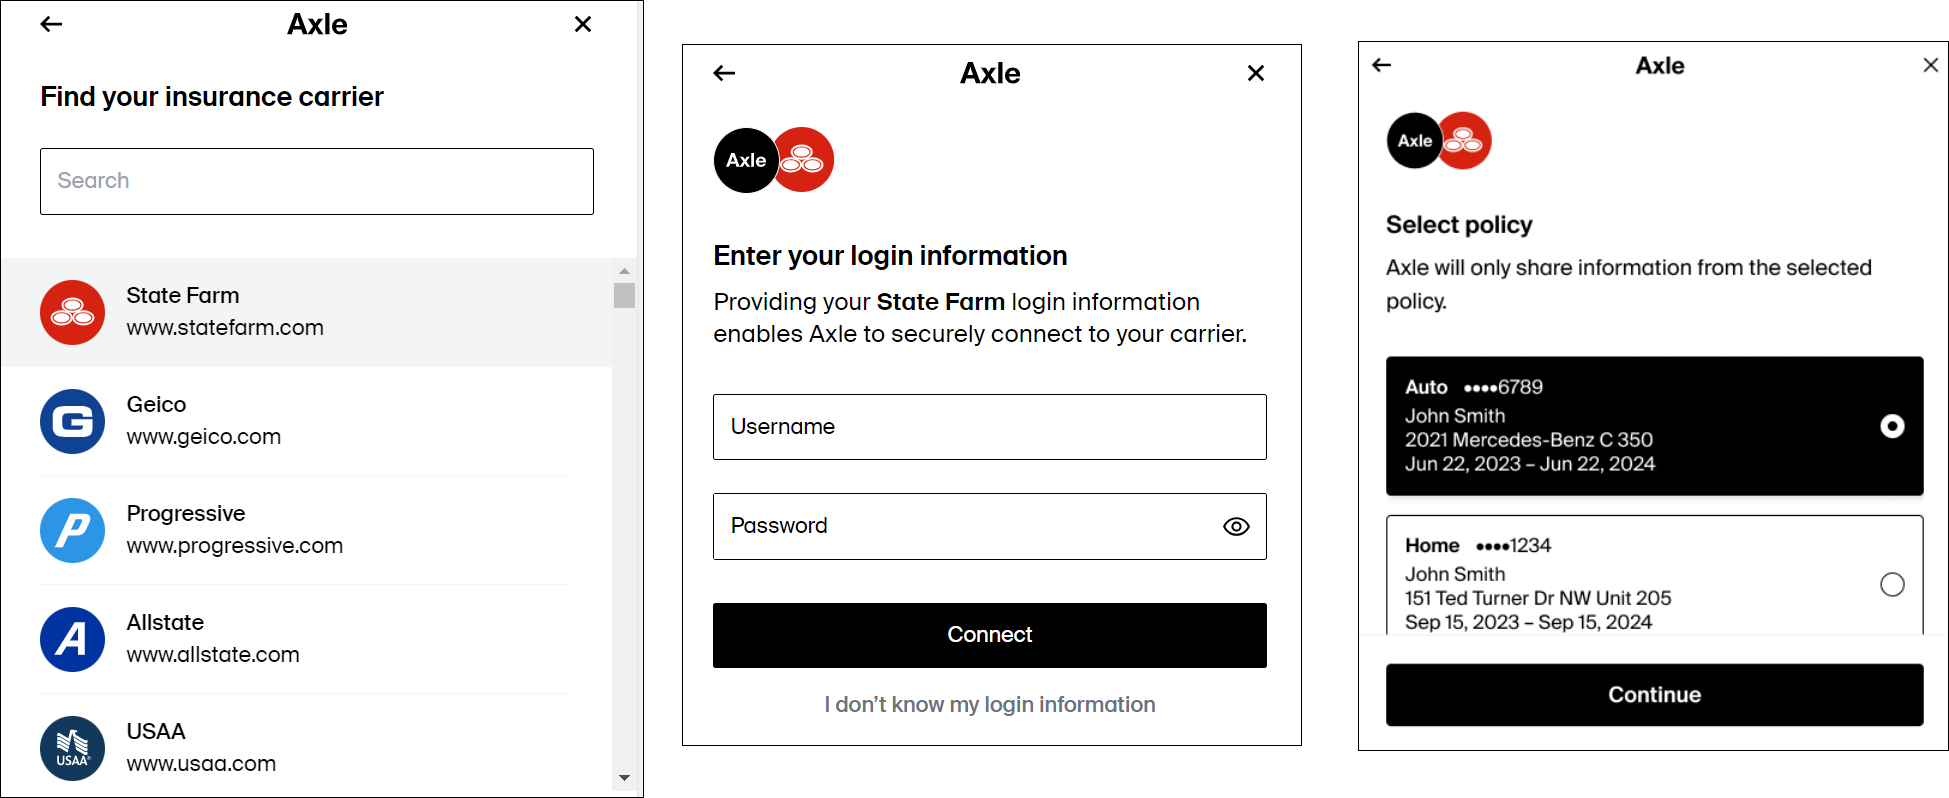
When a customer logs into his or her insurance carrier's account and is allowed to select a policy, each policy available for selection displays key information, including the first vehicle covered on the policy (if the policy covers multiple vehicles).
In other words, if the policy covers more than one vehicle, that first vehicle's coverage is used for filling in insurance information in ATMS GEN2.0.
Yes, you can edit the insurance information to override what was verified through the provider, but doing so removes the provider's verification status badge.
© 2026 TSD Rental, LLC